Visit https://taxy.onrender.com/. (username: admin, password: admin)
Please note, you can change the configuration freely, but due to the instance being behind a firewall, the configured proxies are not accessible from the outside.
There are multiple ways to install Taxy.
Create a file named docker-compose.yml with the following content:
```yaml version: "3" services: taxy: image: ghcr.io/picohz/taxy:latest container_name: taxy volumes: - taxy-config:/root/.config/taxy ports: # Add ports here if you want to expose them to the host - 80:80 - 443:443 - 127.0.0.1:46492:46492 # Admin panel restart: unless-stopped
volumes: taxy-config: ```
Run the following command to start Taxy:
bash
$ docker-compose up -d
To log in to the admin panel, you'll first need to create a user. Follow the steps below to create an admin user:
bash
$ docker-compose exec taxy taxy add-user admin
password?: ******
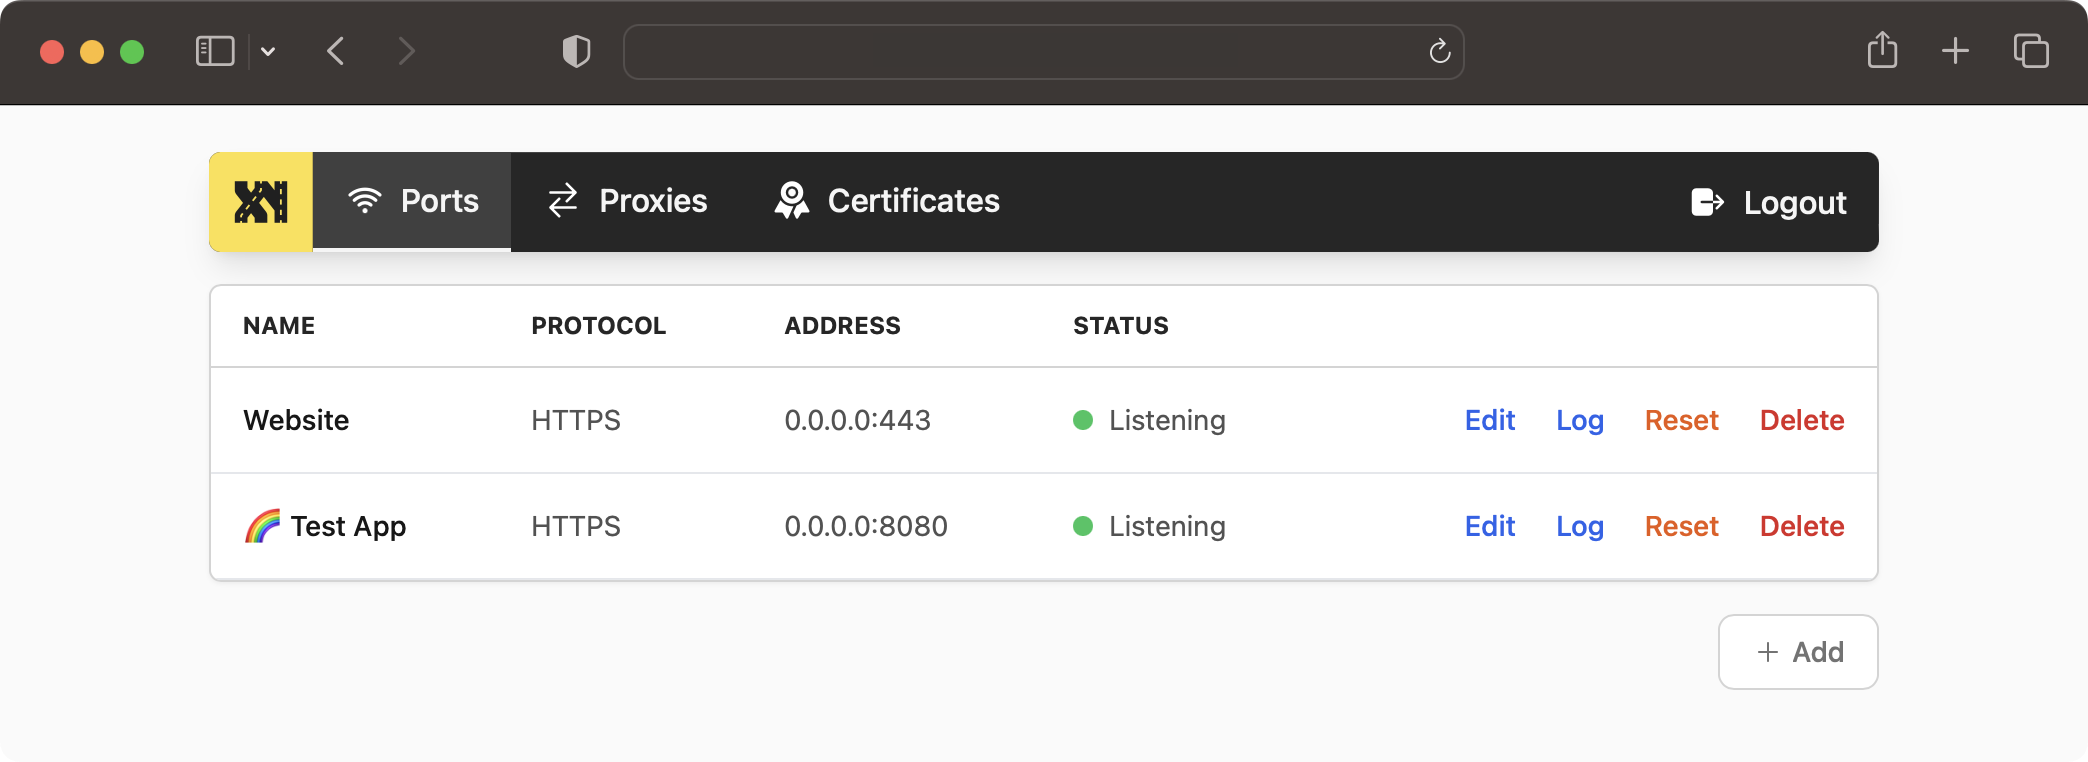
Then, you can access the admin panel at http://localhost:46492/.
cargo-binstall automatically downloads and installs pre-built binaries for your platform. If there is no pre-built binary available, it will fall back to cargo install.
You need to install cargo-binstall first.
Then you can install Taxy with:
bash
$ cargo binstall taxy
You need to have the Rust toolchain installed. If you don't, please follow the instructions on rustup.rs.
The package on crates.io comes bundled with the WebUI as a static asset. Thus, you don't need to build it yourself (which would require trunk and wasm toolchain).
bash
$ cargo install taxy
Alternatively, you can directly download the latest pre-built binaries from the releases page.
You simply put the extracted binary somewhere in your $PATH and you're good to go.
First, you need to create a user to access the admin panel. You will be prompted for a password.
```bash
$ taxy add-user admin $ password?: ** ```
Then, you can start the server.
bash
$ taxy start
Once the server is running, you can access the admin panel at http://localhost:46492/.
To contribute or develop Taxy, follow these steps:
```bash
git clone https://github.com/picoHz/taxy
cd taxy cargo run
trunk serve for the WebUIcd webui trunk serve ```
The social preview image uses the photo by cal gao on Unsplash.